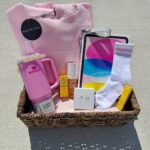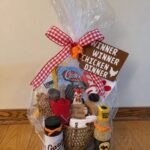
How you package a basket depends on one fact about it: whether it will be carried across a room or shipped in a box.
Packaging options here include a free cardboard shoe box wrapped in cellophane, a wooden crate, a balloon topper and battery-powered fairy lights, and a basket that travels needs a box that fits close around it with just enough room for filler.
1. Taller Items in the Back
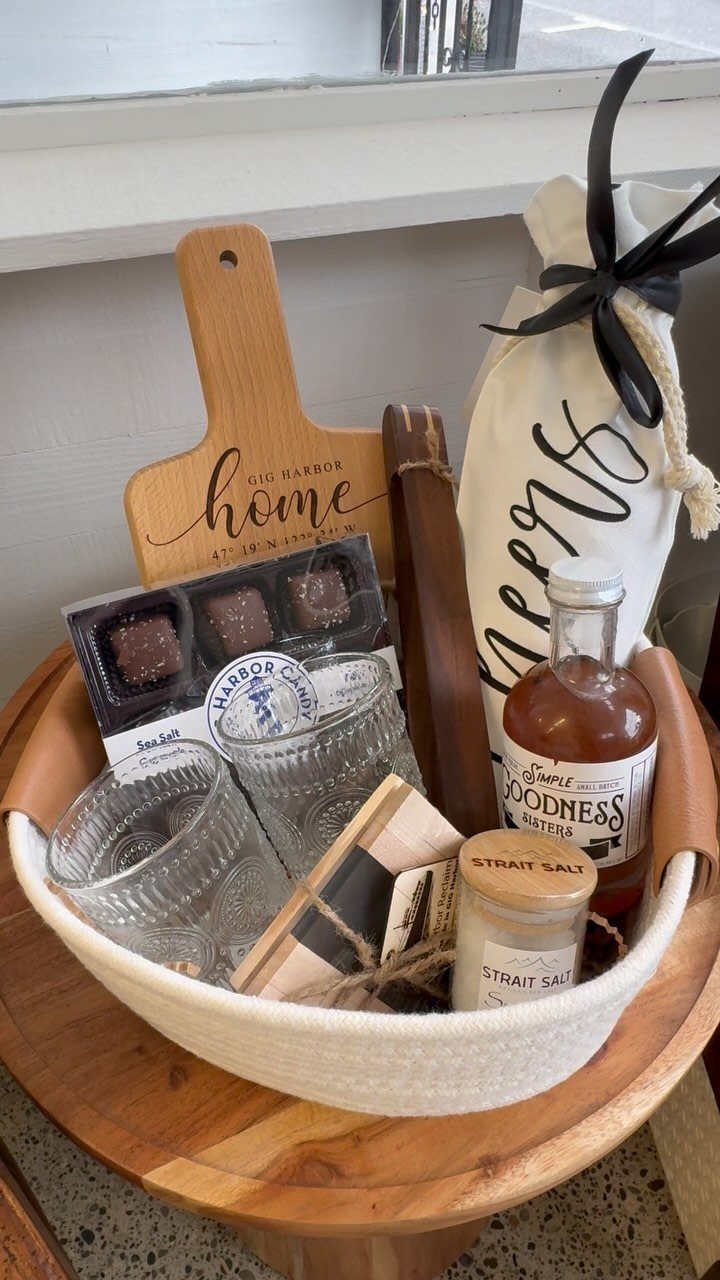
A bottle of syrup or a boxed bag of chocolates disappears when it sits behind a cutting board, so the tall pieces go at the back and the low ones in front.
Stand the board upright against the rear wall of the basket, then step down in height toward the rim.
Glassware works as a mid-height layer. Tuck the small items around it so nothing leans and the labels all face the front.
2. Basket on a Sheet of Cellophane
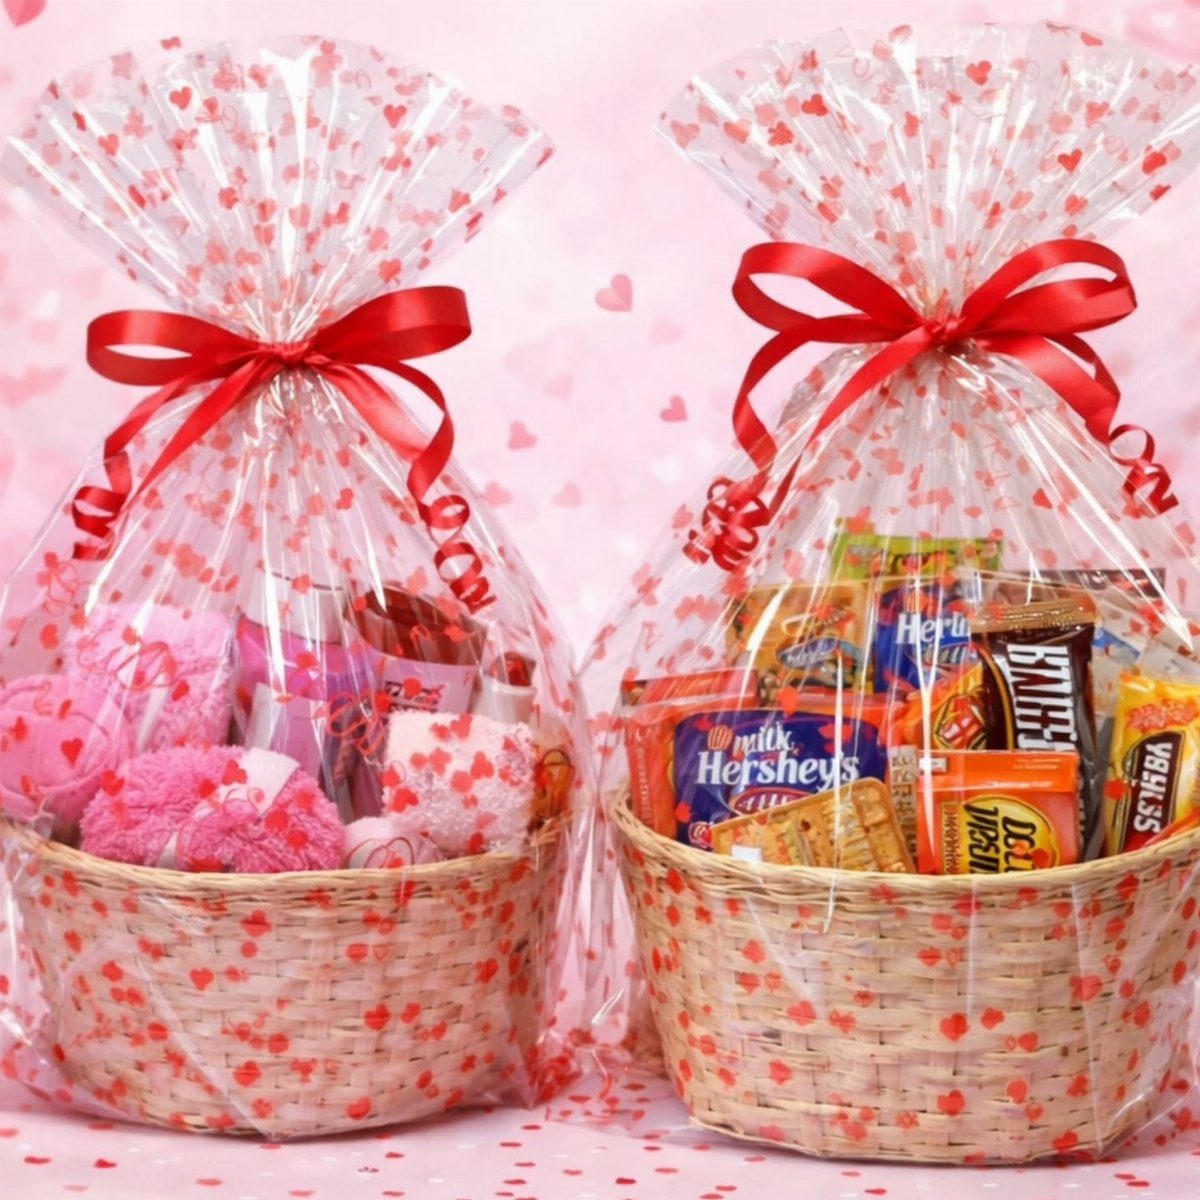
Set the basket in the middle of a square of cellophane, then bring the sides up and gather them above the handle.
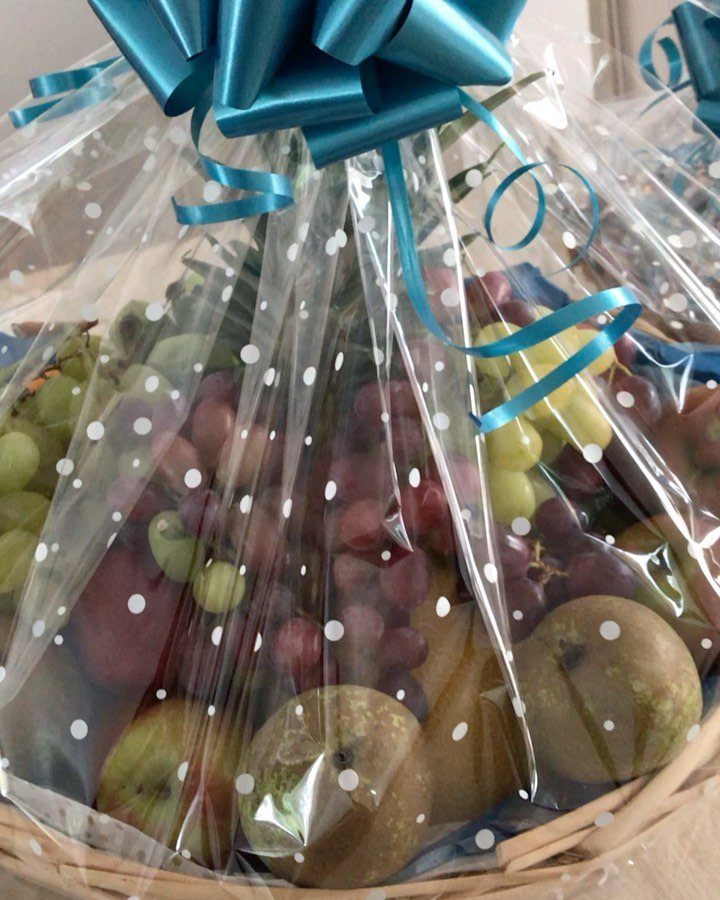
A patterned cellophane sheet, such as a heart print, works as wrapping and decoration at once, so you can skip the tissue layering and keep the cost to a few dollars.
Cut the sheet generously.
It needs to reach past the top of your tallest item, or the gathered neck will look thin and pull open. Tie it with ribbon and trim the ends.
3. Wired Ribbon Bow Around Gathered Cellophane
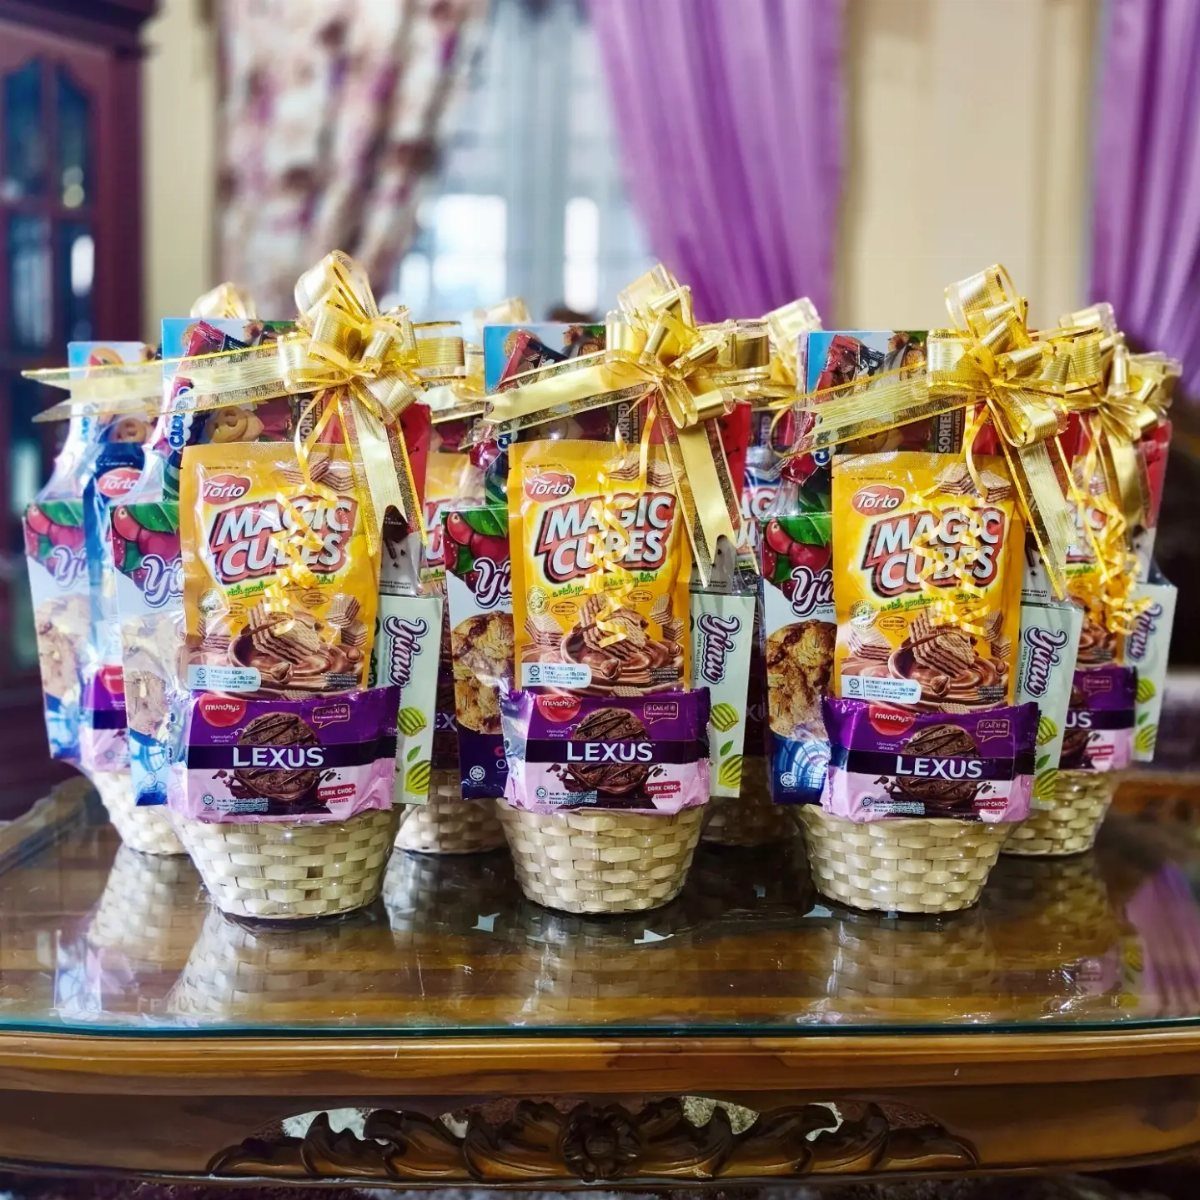
Wired ribbon holds its shape, so a bow made from it stays full instead of drooping over the cellophane. That matters most with small baskets, where a limp bow looks like an afterthought.
Gather the cellophane at the top, cinch it with a twist tie or thin ribbon, then wrap the wired ribbon over that and shape the loops with your fingers.
Gold reads as finished on a plain white basket. Making several of these is quick once the first bow is done.
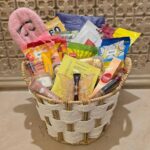
4. Wicker Basket
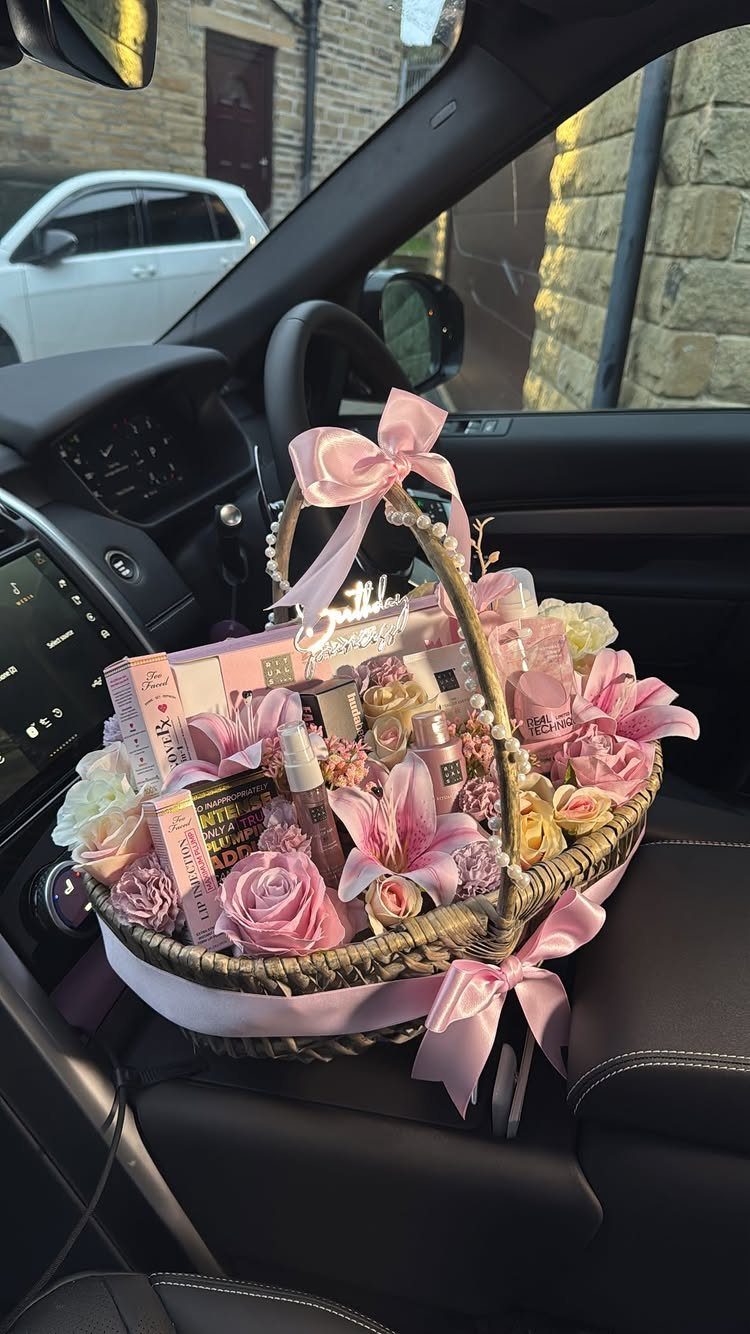
Wicker earns its place because it works with nearly anything: flowers, cosmetics, a handwritten sign.
I like it for birthday baskets in particular, since a small "Birthday" sign tucked in at the top tells the recipient what the basket is for.
Line the inside with tissue or fabric so small items don’t slip through the weave. Keep the flowers toward the back so they don’t crush the products.
5. Consider Alternative Wraps
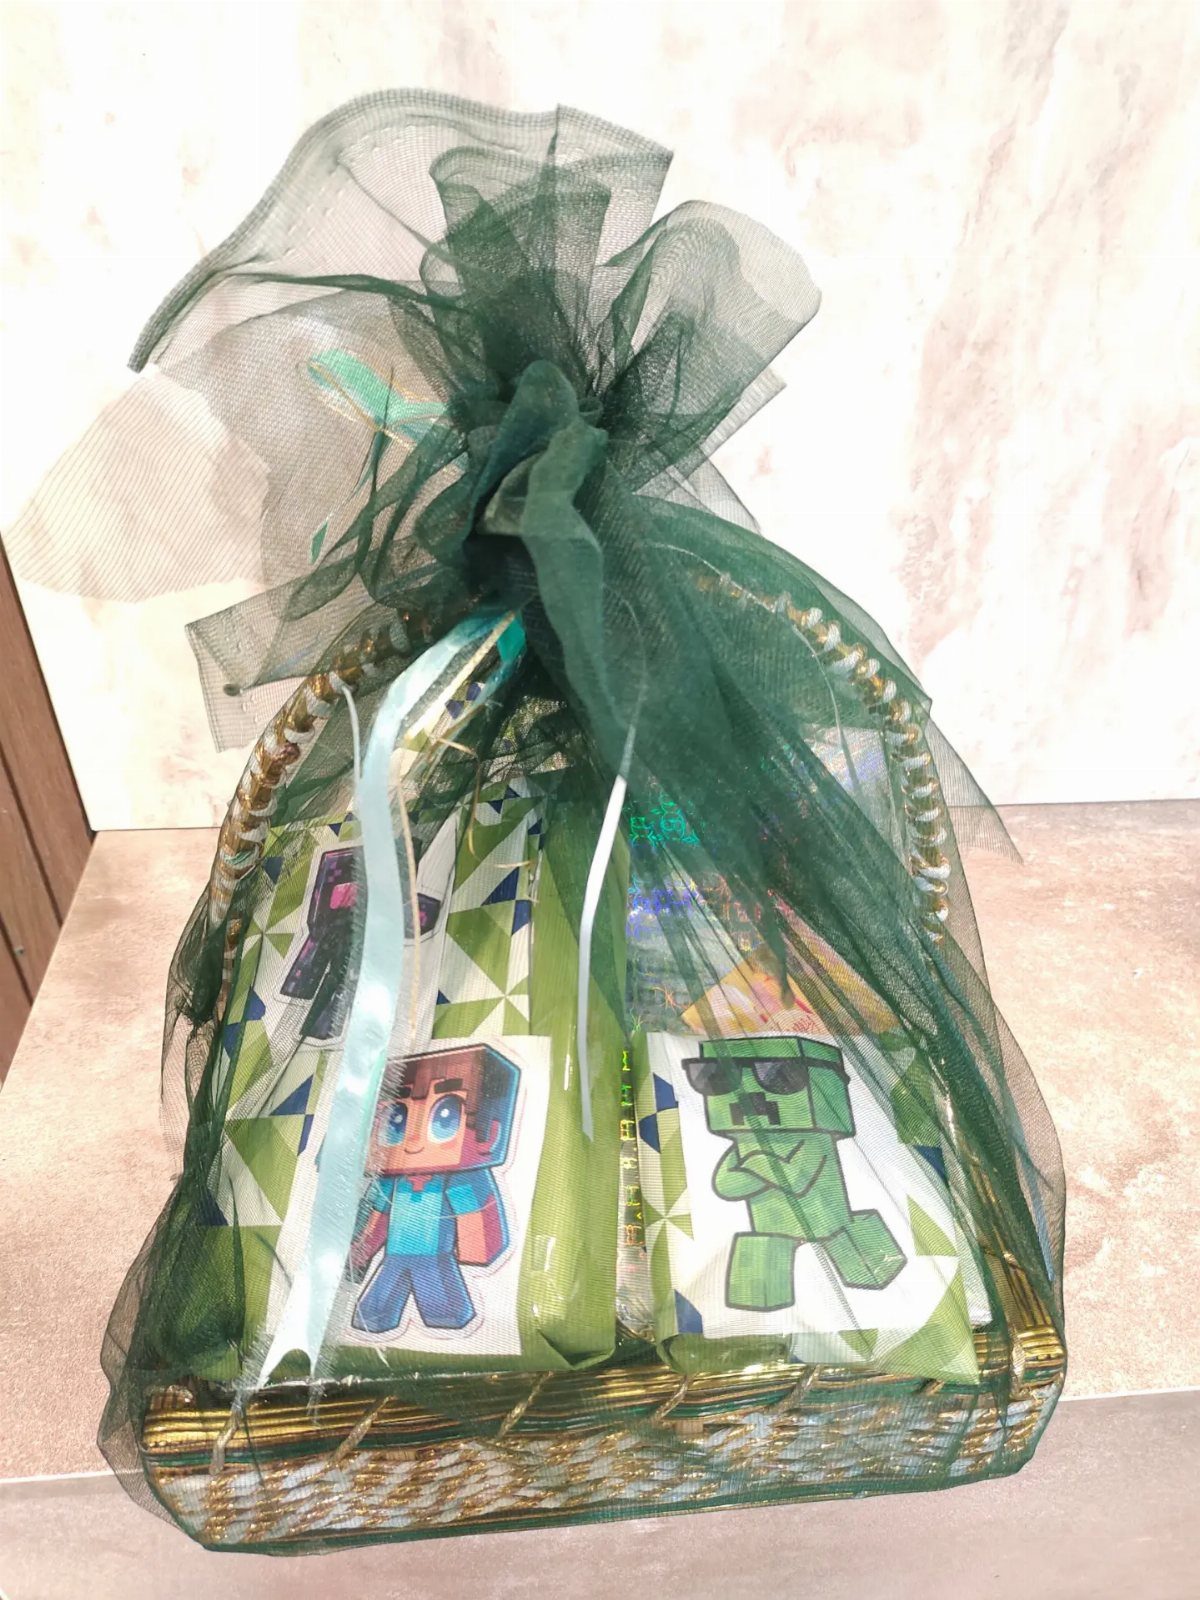
Sheer tulle gives you a softer look than cellophane, and you can match the color to the theme, as green does for a Minecraft basket. It lets the contents show while still reading as wrapped.
Drape a wide piece over the basket, pull it up around the handle and tie it with a bow. Tulle won’t hold a tight seal, so use it for baskets with sturdy items that won’t tip out.
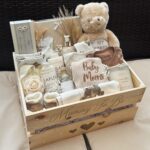
6. Wooden Crate Basket
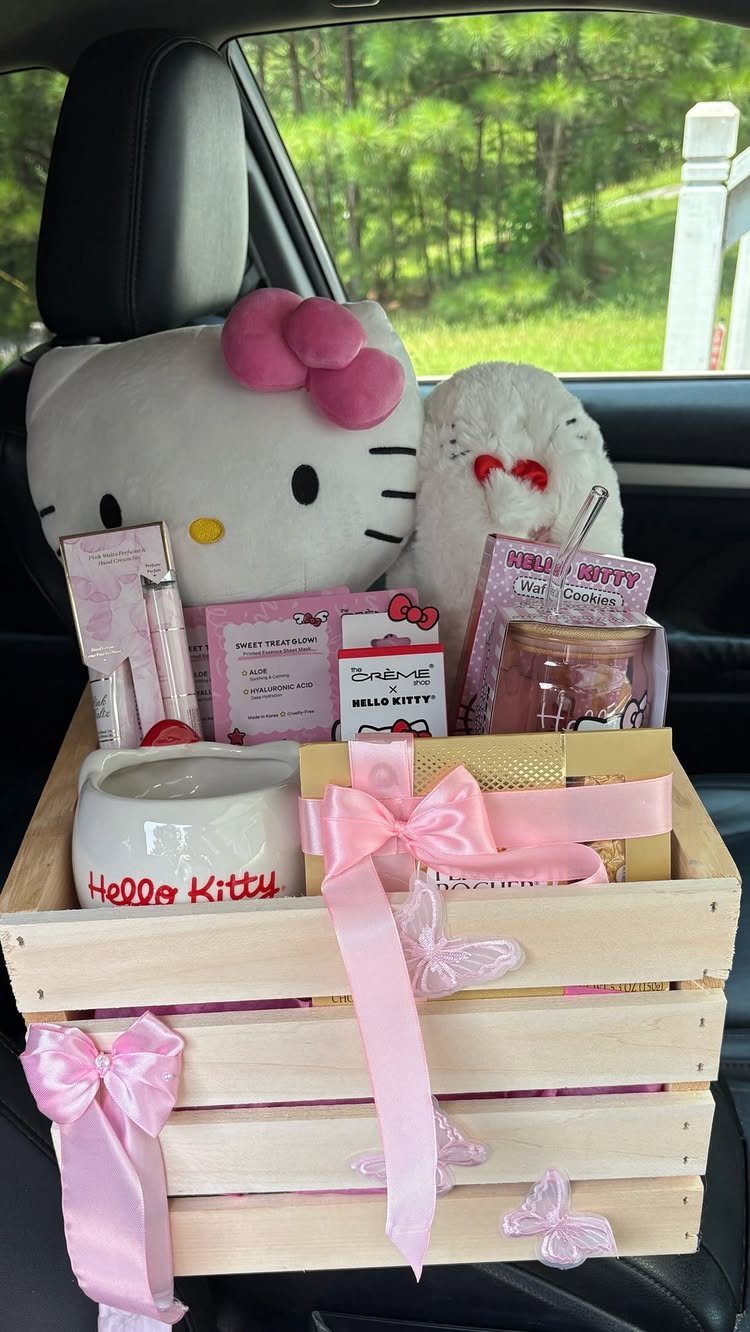
A slatted wooden crate holds heavier gifts than most baskets, which suits a mug, plushies and treats in one load. Because the sides are open, items can lean against the slats and stay put.
Weave satin ribbon through the gaps or tie bows at the corners.
Pink ribbon, as here, picks up a character theme without extra props. Line the bottom with paper filler so small treats don’t fall between the slats.
7. Festive Balloon Topper
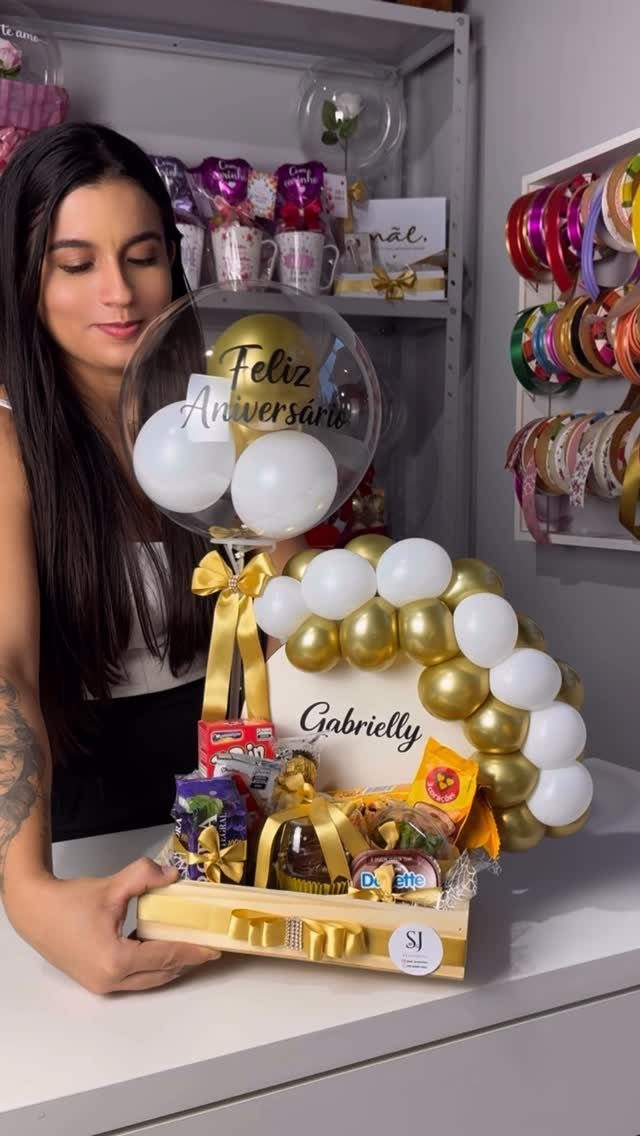
A balloon topper turns a basket into something you can spot across a room.
A large clear balloon filled with smaller white ones sits above the contents, and a printed message on it, like a birthday greeting, does the job of a gift tag.
Match the balloon colors to the ribbons on the basket so the top and bottom read as one piece.
Anchor the balloon to the handle or a stick pushed into the filler, since the weight of the basket will not hold it upright on its own.
Inflate it last, right before the gift changes hands.
8. Woven Fairy Lights
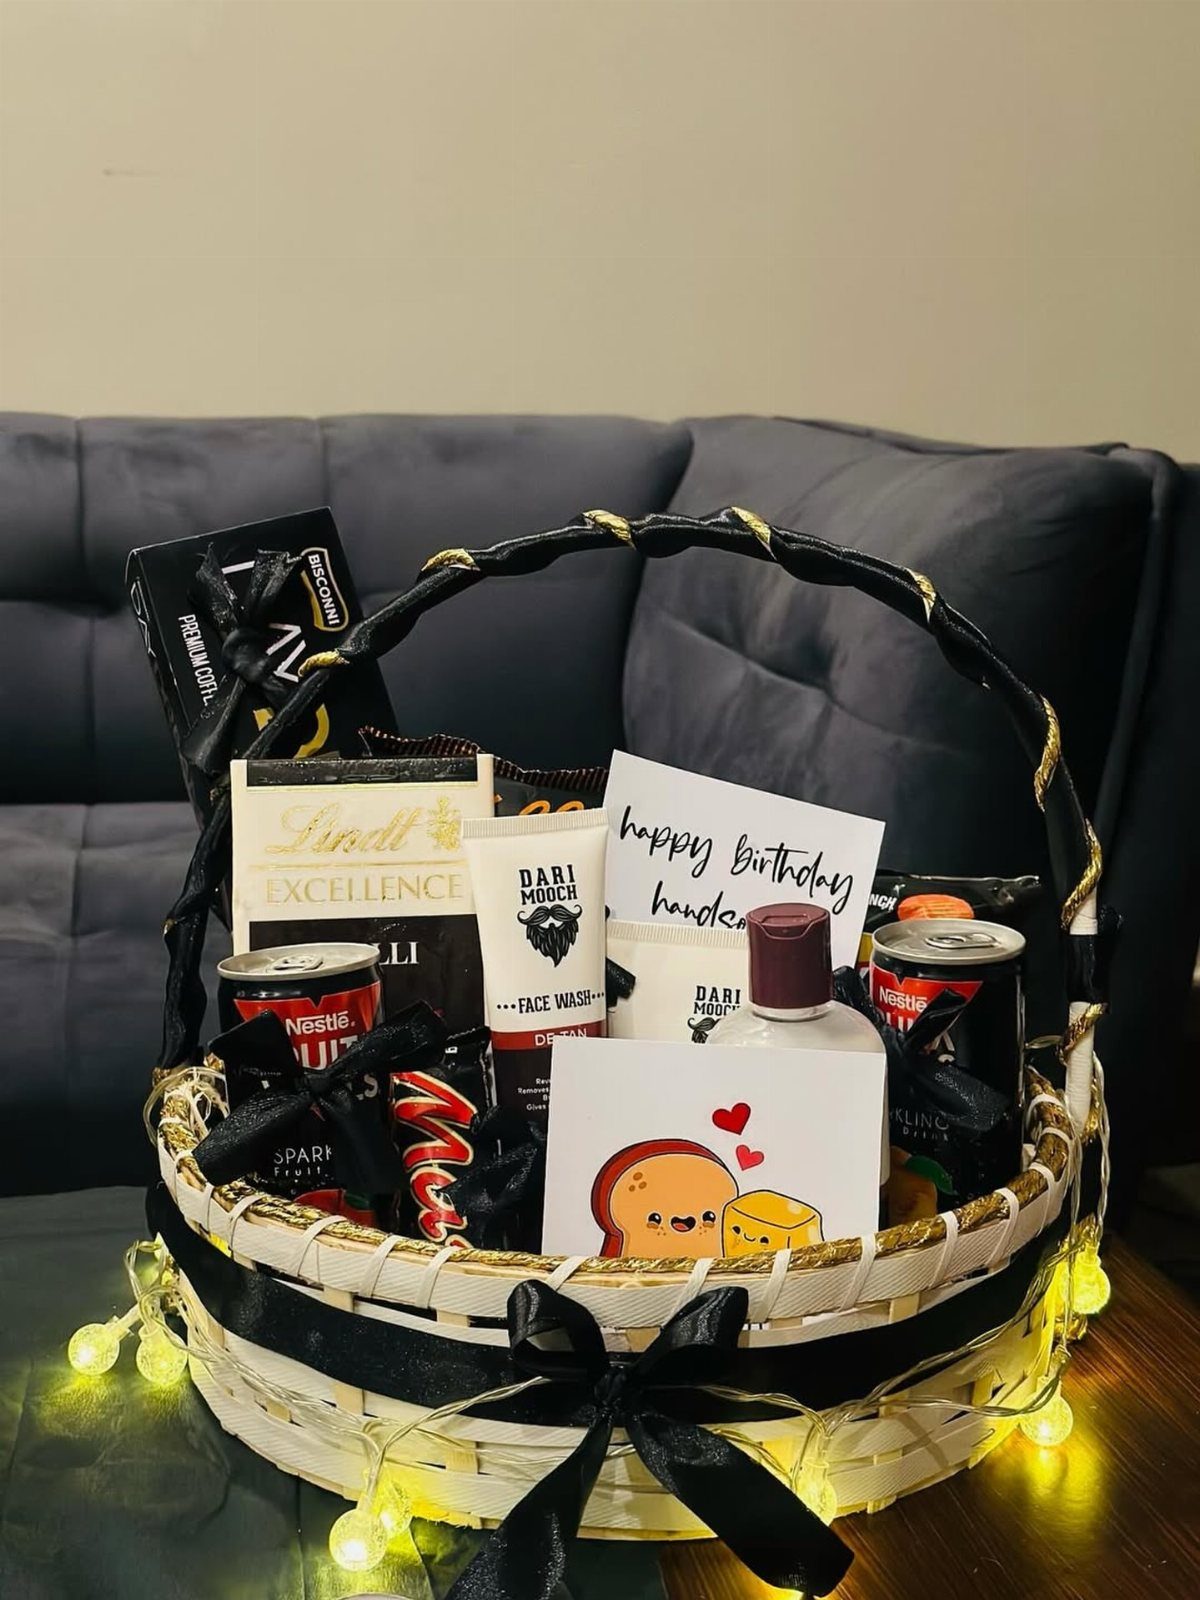
A strand of warm fairy lights weaves through a basket of chocolates and skincare and gives it a glow that ribbon alone can’t. Battery-powered strands are the easy choice, because there is no cord to hide.
Start at the handle, loop the strand around it, then thread the wire down between the items and tuck the battery pack under the filler or behind the tallest piece.
Black ribbon against a white basket keeps the look crisp, and the lights soften it.
Test the switch before wrapping. A dead strand is hard to fix once everything is tied.
9. Cardboard Gift Box Base
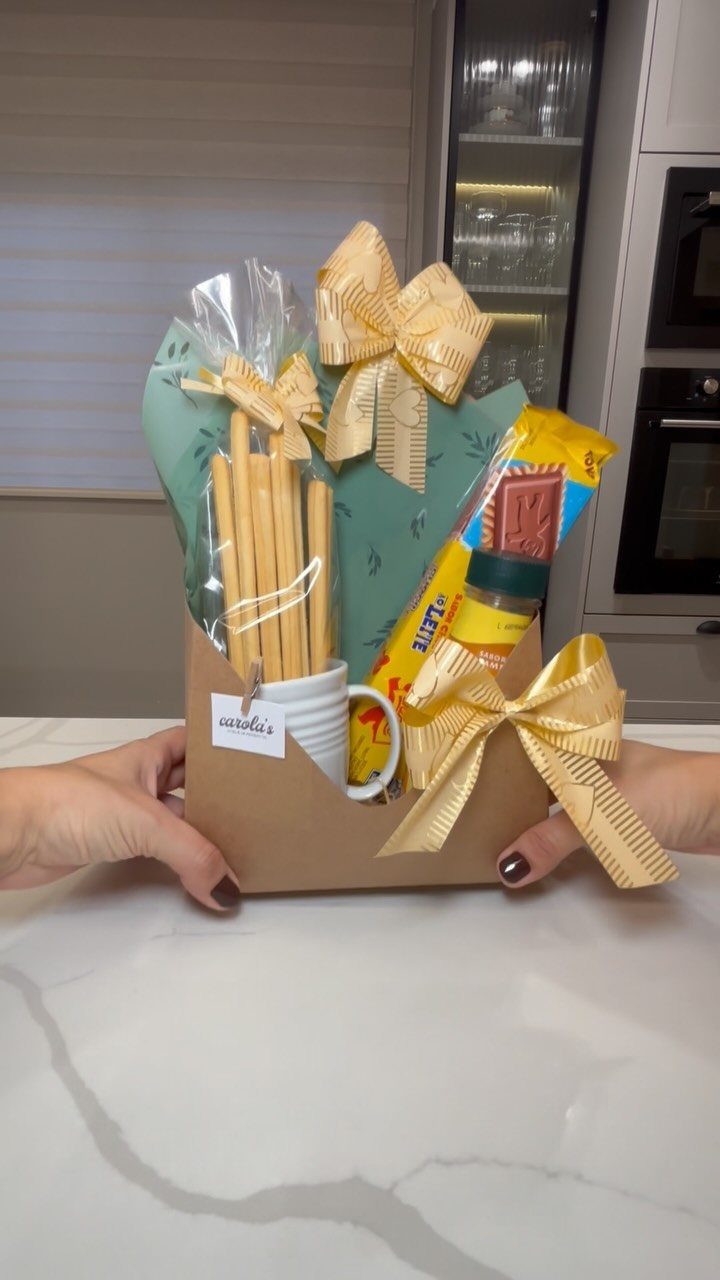
A plain brown shipping or shoe box makes a fine basket base, and it costs nothing if you already have one.
Fill it with a mug, a few snacks and some filler, then wrap the whole box in cellophane and finish with gold ribbon so the cardboard looks intentional.
Cardboard has no handle, so cut a cellophane sheet large enough to gather above the box and tie it at the top. A small tag tucked under the ribbon tells the recipient who it is from.
Pick a box with sturdy sides, since a mug is heavy.
Tips for Professional Wrapping
Cheap ribbon and cheap tape are the 2 materials that give a basket away.
Wired ribbon holds its loops, and clear tape disappears against cellophane where cloudy or yellowed tape stays visible. Put the tape on the underside or inside a fold so no strip shows from the front.
Cellophane bunches unevenly when it is pulled in a hurry. Pull the sheet taut and smooth each pleat before you tie anything.
Plan on about 10 minutes for the wrap itself once the contents are arranged.
Choosing the Right Box
The shipping box needs to fit close around the basket, leaving just enough clearance for protective filler.
Too big, and you pay for extra filler while the basket slides around. Too small, and you end up tilting the basket or bending its shape, which neither the basket nor the gifts will survive well.
Measure the finished basket, wrapping included, then pick a box that fits those dimensions. Add room for filler on every side, then pack the gaps firmly enough that a gentle shake moves nothing.
Presentation Quality
Presentation counts for more than most hosts expect, because a basket that looks designed feels more valuable before anyone touches the contents. Several habits make that happen, and none of them cost much.
Fill the basket about 60% full with shredded kraft paper or tissue before adding products. That lifts the items above the rim, where they can be seen.
I group colors by temperature: warm shades with warm, cool shades with cool. Mixed at random, the basket reads as careless instead of planned.
Contrast textures, such as smooth glass against kraft paper or silk ribbon beside natural raffia. It adds perceived value for free.
Choose candles and other items in their retail boxes over loose ones. They stack cleanly and stay put in the filler.
Photograph the arrangement before the cellophane goes on, so you can rebuild it if something shifts.
Frequently Asked Questions
How to make a gift basket look expensive?
Stuff the bottom of the basket with crinkled kraft paper or tissue until it’s roughly 60% full; that lift pushes each product above the rim, where people can see it.
Retail-boxed items such as candles stack cleaner than loose ones, and wired ribbon plus clear tape keep the wrap from looking cheap.
How to package a gift basket for shipping?
Choose a shipping box just a little bigger than the wrapped basket, with about 2 inches of space on every side for filler.
Too big and the basket slides around; too small and you bend the basket or tilt it. Fill every gap until the basket stays put when you give the box a light shake.
Can you wrap a box before mailing it?
Yes, wrap the basket first, then place it in a shipping box sized to fit it with room for filler on all sides.
Measure the basket with the cellophane and bow already on so the box is not too tight. Packing the gaps firmly keeps the wrapping from shifting in transit.
How do you wrap a gift basket in cellophane?
Center the basket on the cellophane, lift the edges up around it, gather them over the handle, then tie a ribbon and snip the tails even.
Cut the sheet larger than you think you need, so it clears your tallest item; a short sheet leaves a thin neck that slips open.
Before you tie anything, pull the cellophane snug and press out each pleat; the whole wrap takes me about 10 minutes.
How do you arrange items in a gift basket?
Place your tallest pieces at the back and let heights drop toward the front rim, so every item stays in view.
Glass jars and bottles make a good middle layer; wedge small items around them and rotate every label to face forward. This keeps every piece visible and stops items from leaning.